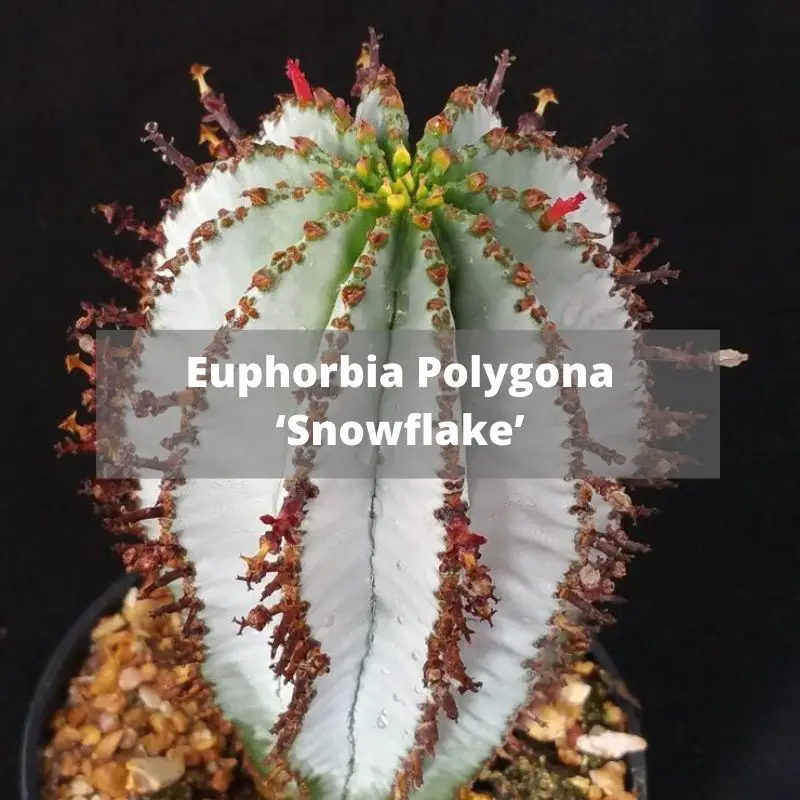
When re-potting your succulents, remove the plant from its previous pot, dry and clean the roots, and place the succulents in a new pot with well-draining succulent soil. That is the quick and easy way to re-pot succulents, but now, if we take a closer look at a step by step look, I will explain everything in more depth.
Succulents are some of the most beautiful and hardy plants a home gardener or landscaper can choose. Because there are thousands of varieties of succulents, their shape, size, and color are available in an incredible range that can suit most tastes. Small, potted succulents add beauty and a touch of the outdoors to small apartments or workspaces. Larger arrangements in containers or rock gardens add texture and color to outdoor landscapes, and their vibrant leaves and blooms are perfect for attracting pollinators.
Succulents include those plants with thick, often spiny leaves and stems. Those thick leaves are used to store water and nutrients in succulents’ natural habitats, which include deserts and other arid environments. Succulents are right at home among rocks, in the sunshine, or in a decorative pot on a kitchen countertop. Some succulents have other protective features like dying off on the surface of the soil during harsh conditions while keeping viable roots and water reserves alive underground until conditions above improve.
Most people would be familiar with certain types of succulents, especially those that are popular as decorative flora in homes, offices, and public spaces. Some of the most popular varieties include “hen and chicks,” “burro’s tail,” jade plants, aloe vera, and snake plants. Plants in the crassula and sempervivum families, and especially the sedum genus, are among the most common domesticated succulent plants.
Are you struggling with propagation? This ebook is a how-to guide created for successful propagation. You will find detailed and helpful information for all the propagation methods. It is suitable for you whether you’re just starting with them or ready to advance your knowledge.
A Simple Walk Through
Succulents can appear in various colours, including greens, purples, reds, and browns. Some have flat leaves with triangular points, forming conical rosettes. Others have long, tubular leaves that trail down from a central stem. Many succulents will produce flowers as part of their reproductive cycle, displaying flowers in pinks, yellows, and whites. The sheer diversity in the appearance of succulents is one of the reasons they have become some. of the most popular plants among home gardeners and landscapers.
Cacti, or members of the Cactaceae family of plants, are almost all succulents. Rather than having fleshy leaves like other succulents, cacti store their water and nutrients in the stem and have spines instead of leaves. Many cacti are popular additions to indoor and outdoor home gardens because of their unique appearance and vividly coloured blooms. Cactus is sometimes used to describe succulent plants that are not cacti.
Probably the best-known example of this is the Christmas cactus. This succulent grows in humid rainforest conditions and requires regular watering. Be sure to know the difference between cacti and other succulents because they require different types of care and environments to grow. Cacti are most associated with deserts, but they are also popular additions to home gardens or indoor spaces because of their ease of maintenance.
Even though succulents are relatively easy to care for, learning how to repot succulents or cacti requires some particular procedures. Home gardeners and professional landscapers alike should not treat succulents like any other flower or decorative plant. The move to repot succulents is the most precarious stage in caring for the plants, so be sure to read the following guides. Choose the right soil and shallow, heavy pots to support these ancient plants. There are guides to successfully repot succulents in all conditions to enjoy these magnificent plants for years to come.
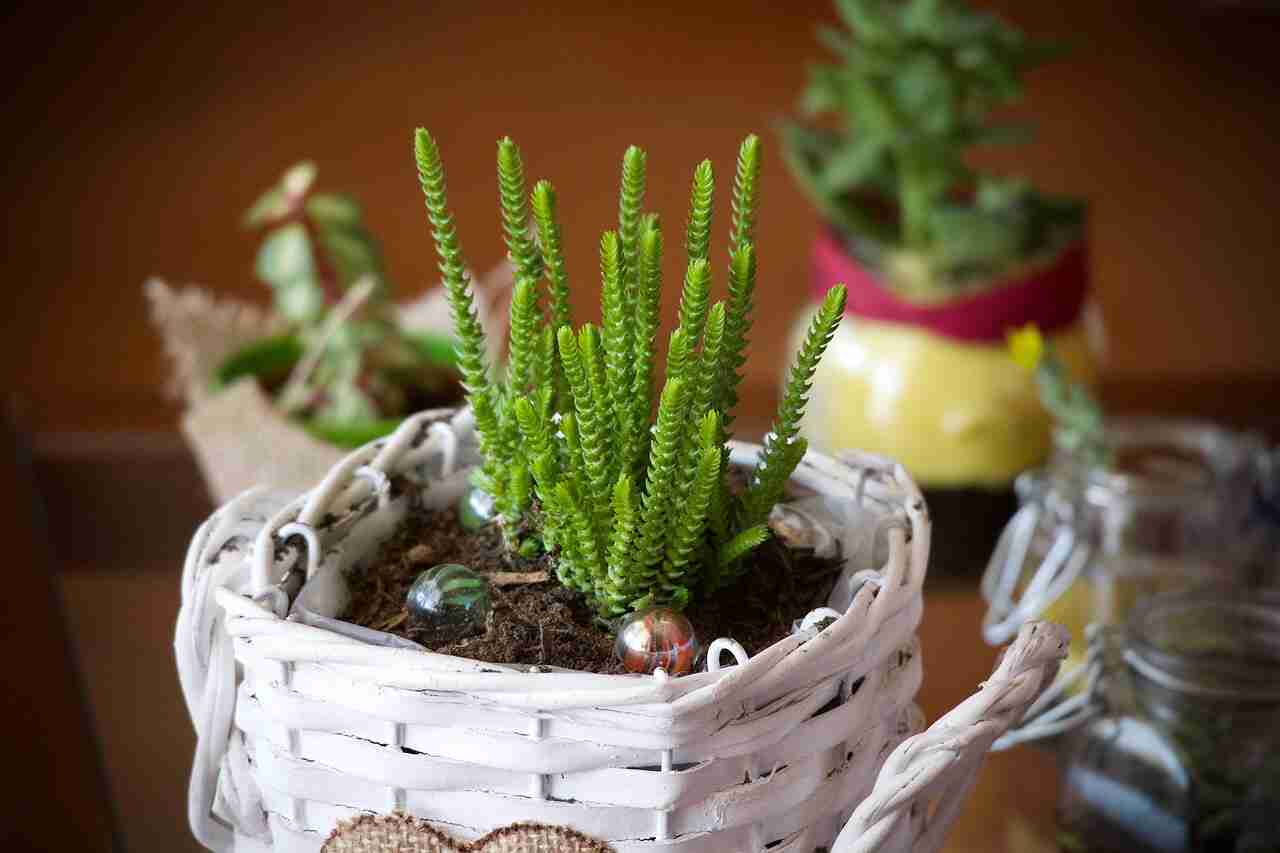
Picture via Pixabay
When to Repot Succulents
Signs that it is time to repot succulents include weak or sagging leaves, root systems growing through drainage holes in the bottom of pots, or plants spilling over the edges of their containers. Certain varieties of succulents can become leggy, too. This problem is caused when a succulent does not receive enough natural light and the branches or leaves grow out away from the main stem in search of nutrients.
In order to avoid having to repot succulents, be sure to select an ideal location before putting in the work of potting a new or transplanted specimen. Some succulents may have originally been potted in the wrong type of soil or in pots without drainage. Home gardeners may also want to combine several plants and can repot succulents together to create an arrangement. Part of proper care for succulents is knowing when they need a new environment to be healthy, but also when to avoid traumatic changes that can permanently damage the plants.
Picture via Pixabay
How to Repot Succulent Leaves
A dropped or picked leaf from a succulent plant can be repotted on its own to form a new plant. Picked leaves should include the whole leaf and perhaps a bit of the stem. If a fragment of the leaf is left attached to the stem, the leaf will not sprout new roots through this process. The process is relatively easy, but it does take time and patience. Begin by allowing the dropped or picked leaf to dry until it is calloused. A calloused leaf will appear dry, blotchy, and perhaps even cracked.
The leaf should be whole but also brittle to the touch. Most succulent leaves can take up to three days to dry out enough to be used in propagating a new plant. If the leaf is not allowed to dry out and become calloused, it will absorb too much moisture during its first watering and will essentially drown. The next step is to prepare the soil in the new pot. Use a shallow container with well-drained, sandy soil. Place the leaf on top of the soil. It may need to be supported with a popsicle stick.
The pot should be left in a warm, dry place away from direct sunlight. After several weeks, the leaf will start to grow roots of its own. Begin to water the new plant, allowing the soil to completely dry out between each watering. Once the roots on the new succulent plant have firmly established themselves, the pot should be moved to its usual spot in a well lit, warm place. Most established succulents will only need to be watered about once a week.
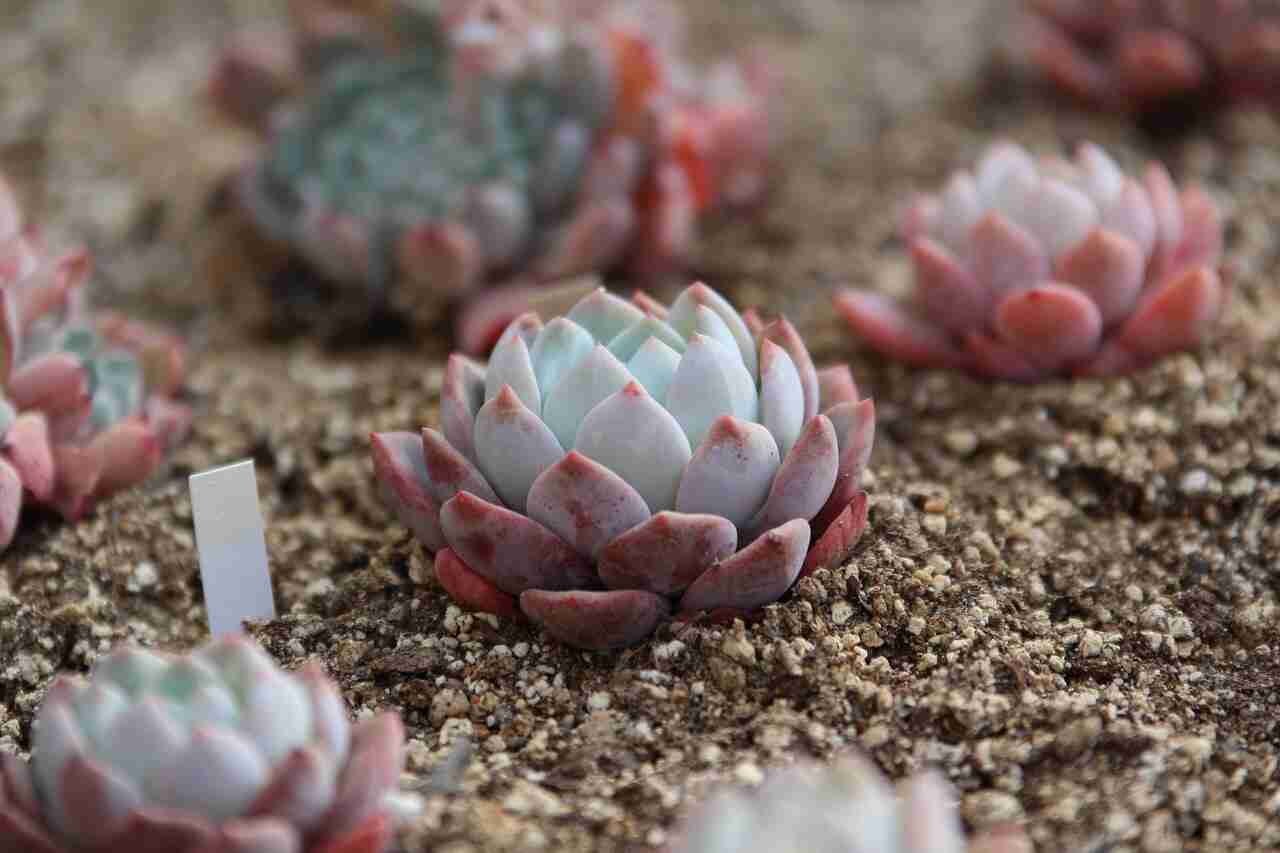
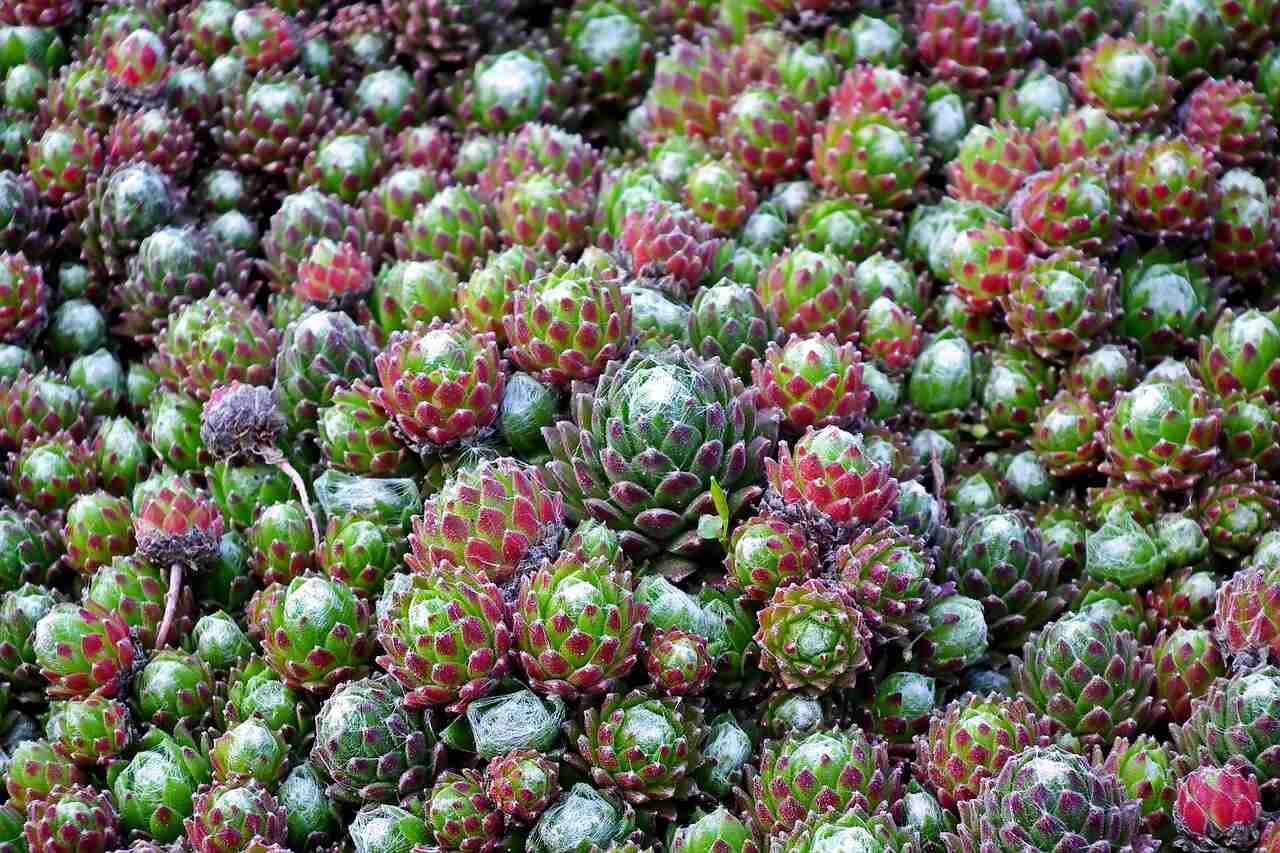
“Hens and chicks” plants are a natural representation of this process. The name “hens and chicks” comes from the central mother plant, or “hen,” surrounded by the smaller offshoot plants, or “chicks.” Many “chicks” begin as dropped leaves from the central plant that then develop roots of their own and flourish. “Hens and chicks” are popular as potted succulent plants because of their unique patterns, diverse colors, and natural arrangement.
Are your succulents dying? Do you need urgent help to keep them alive? Don’t worry! This ebook will solve the problems. I shared all my secrets related to how to water succulents with you.
How to Repot Succulent Cuttings
Another method to repot succulents is to use cuttings from an established succulent plant. Some types of succulents, such as aeoniums, will not produce new plants from leaves alone, so cuttings are the only way to create new plants from the parent succulent. Use a sharp knife, scissors, or garden shears to cut a small section of the succulent plant.
The cutting should be mostly new growth from near the top of the rosette and should include both leaves and a section of the stem. Allow the succulent cutting to dry in a warm place that is away from direct sunlight and has good air circulation. The area that was cut should be exposed to the air so that the “wound” can start to heal before planting. Allow the cutting to dry overnight before moving to the next part of the process.
The rest of the procedure to repot succulents from cuttings is much the same it is to repot succulents from leaves. Prepare the soil in the new pot. Use a shallow container with well-drained, sandy soil. Place the succulent cutting on top of the soil. It may need to be supported with a popsicle stick. The pot should be left in a warm, dry place away from direct sunlight.
After several weeks, the succulent cutting will start to form roots of its own. Begin to water the new plant, allowing the soil to completely dry out between each watering. Once the roots on the new succulent plant have firmly established themselves, the pot should be moved to its usual spot in a well lit, warm place. Most established succulents will only need to be watered about once a week.
Picture via Pixabay
How to Repot Succulents and Cacti
There are a number of ways to successfully repot succulents and cacti. Both succulents and cacti and can be transferred whole from the original pots into larger pots. Succulents and cacti can be transplanted from pots into the ground. And, like many other types of plants, leaves and cuttings can be used to report succulents and cacti as long as specific procedures are followed.
Succulents and cacti are generally easy to maintain, but the primary concern is always water. Repotting and cutting succulents leaves the plants in a weakened state, so they need special care until they have time to re-establish their root systems and restore essential nutrients. Still, if done properly, a home gardener or landscaper can repot succulents to proudly display them indoors and out.
How to Repot Cactus Cuttings
Like the broader succulent group of plants, cacti can also be transplanted using a cutting from a healthy, established specimen. Some types of cacti, especially segmented varieties, work especially well for this process because a segment can be removed at the joint and used to transplant the cactus into a new container. Other types of cacti, like barrel cacti, produce smaller cacti around the base of the main plant. Those smaller cacti can be cut off and used to propagate a larger plant, as well.
If the cactus variety being used has sharp spines, be mindful not to get poked. Use a sharp knife, scissors, or garden shears to cut a small section of the cactus. As with cuttings used to repot succulents, allow the cactus cutting to dry in a warm place that is away from direct sunlight and has good air circulation. The area that was cut should be exposed to the air so that the “wound” can start to heal before planting. Allow the cutting to dry overnight before moving to the next part of the process.
The rest of the procedure to repot cacti from cuttings is much the same it is to repot succulents from cuttings. Prepare the soil in the new pot. Use a shallow container with well-drained, sandy soil. Press the cut segment of the cactus gently into the soil and support with a popsicle stick until roots will hold the new plant in place. If transplanting a cactus cutting with a broad base, gently press the base of the cutting into the soil about a quarter of an inch.
Cactus cuttings with broad bases should be able to support themselves until roots begin to form. The pot should be left in a warm, dry place away from direct sunlight. After several weeks, the cactus cutting will start to form roots of its own. Begin to water the new plant, allowing the soil to completely dry out between each watering. Once the roots on the new cactus plant have firmly established themselves, the pot should be moved to its usual spot in a well lit, warm place. Most established cactus will only need to be watered about once a week. Remember that cacti are particularly susceptible to overwatering, so keep a log of how much water is used and check the soil often.
How to Repot Succulents in Glass
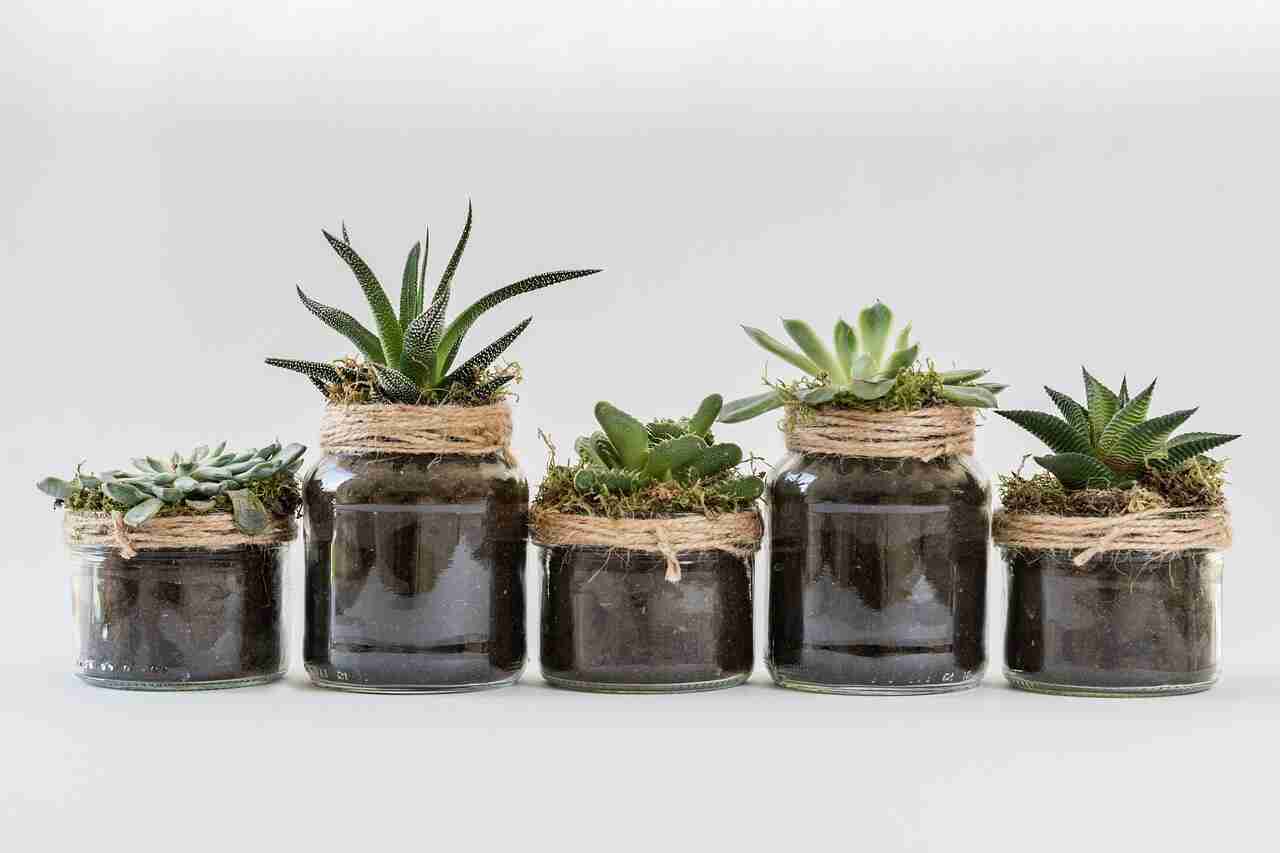
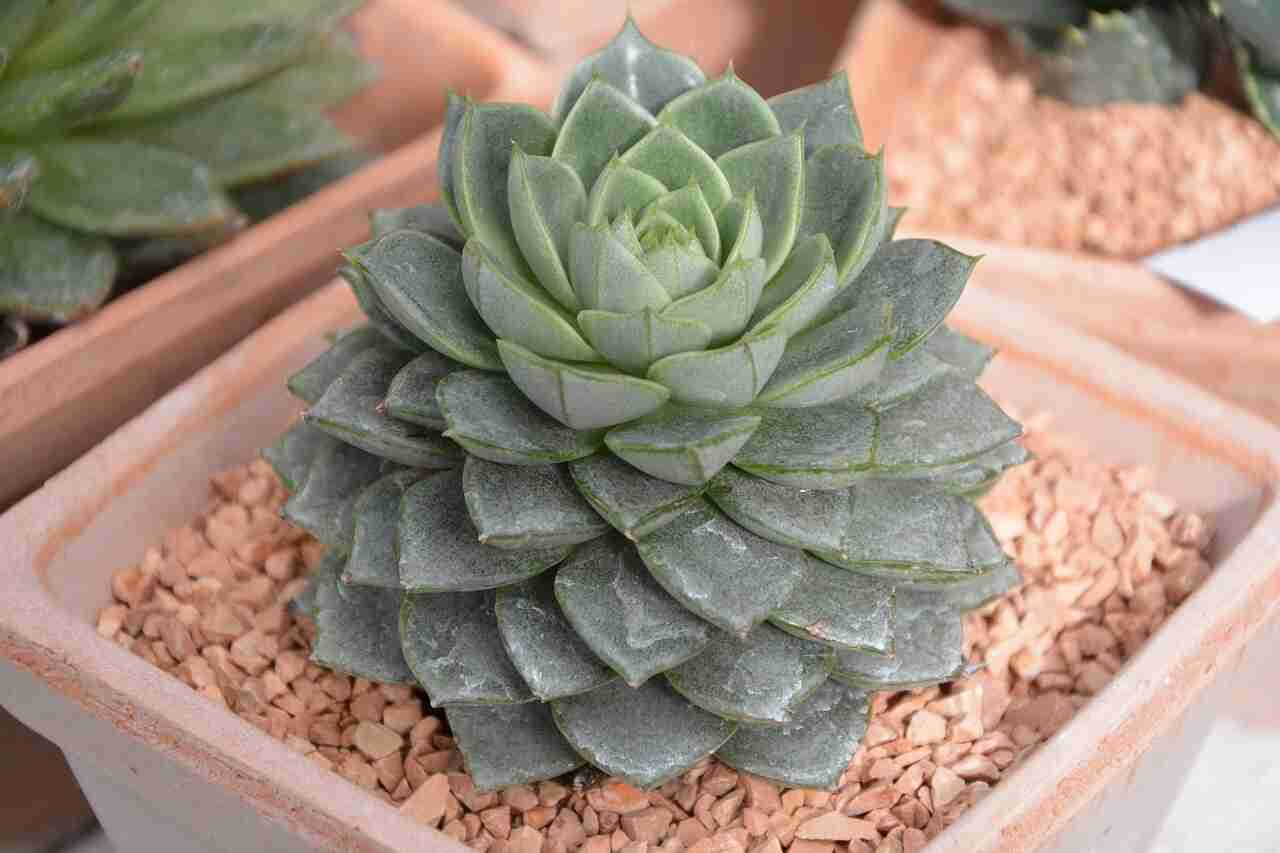
In order to repot succulents in glass, follow the same steps used to repot succulents in pots with no drainage. Small glass pots or decorative glass orbs are a trendy and aesthetically pleasing way to display small succulent plants or cacti. The transparent glass orbs can be suspended on wires and set on small shelves to display the color and shapes of succulents while maintaining the modern look of an indoor space.
The challenge is learning how to repot succulents in glass containers in such a way as to make sure excess water does not build inside the container. If the roots of a succulent or cactus sit in water too long, they will rot and the plant will suffer. The problem can be solved with a few steps. First, create a thin layer of small pebbles in the bottom of the glass container.
The pebbles will need to be small and light since glass containers are generally smaller and more fragile than containers of other materials. Choose pebbles that complement the indoor space well, perhaps with a vivid accent color or colors that contrast with the colors of the succulent plant. Next, select a place where the glass container will get plenty of sunlight.
The heat from the sunlight will warm any excess water that collects in the pebbles in the bottom of the container, causing it to evaporate. The practical benefit of transparent glass containers used to repot succulents is that it is easy to gauge how much water is in the soil around the plant’s roots. This makes over-watering and root rot much less likely.
Picture via Pixabay
How to Repot Succulent Arrangement
When attempting to repot succulents that have been arranged in specific groupings, there are a few things to consider.
First, if the plan is to repot succulents of more than one variety, try to repot all the plants of one variety at a time. Next, consider the size and shape of the succulents in the arrangement.
Repot succulents that will grow taller first because they will need more support while establishing roots in the new container.
Repot succulents that are small or have broad bases last since they can support themselves on the surface of the soil while their roots mend.
If the plan involves changes to the arrangement of the succulents once they are in their new environment, make a sketch of the desired arrangement first.
Repot Succulents beginning with the plants that will be in the center of the arrangement first, then work outward. Remember to leave space between each plant so that they have room to grow and fill in the design of the arrangement.
Our printable succulent coloring book comes in the convenient 4×6″ (10x15cm). You can either print or use it in a digital platform from your phone, tablet, etc. Have fun!
Repotting Succulents with Rocks
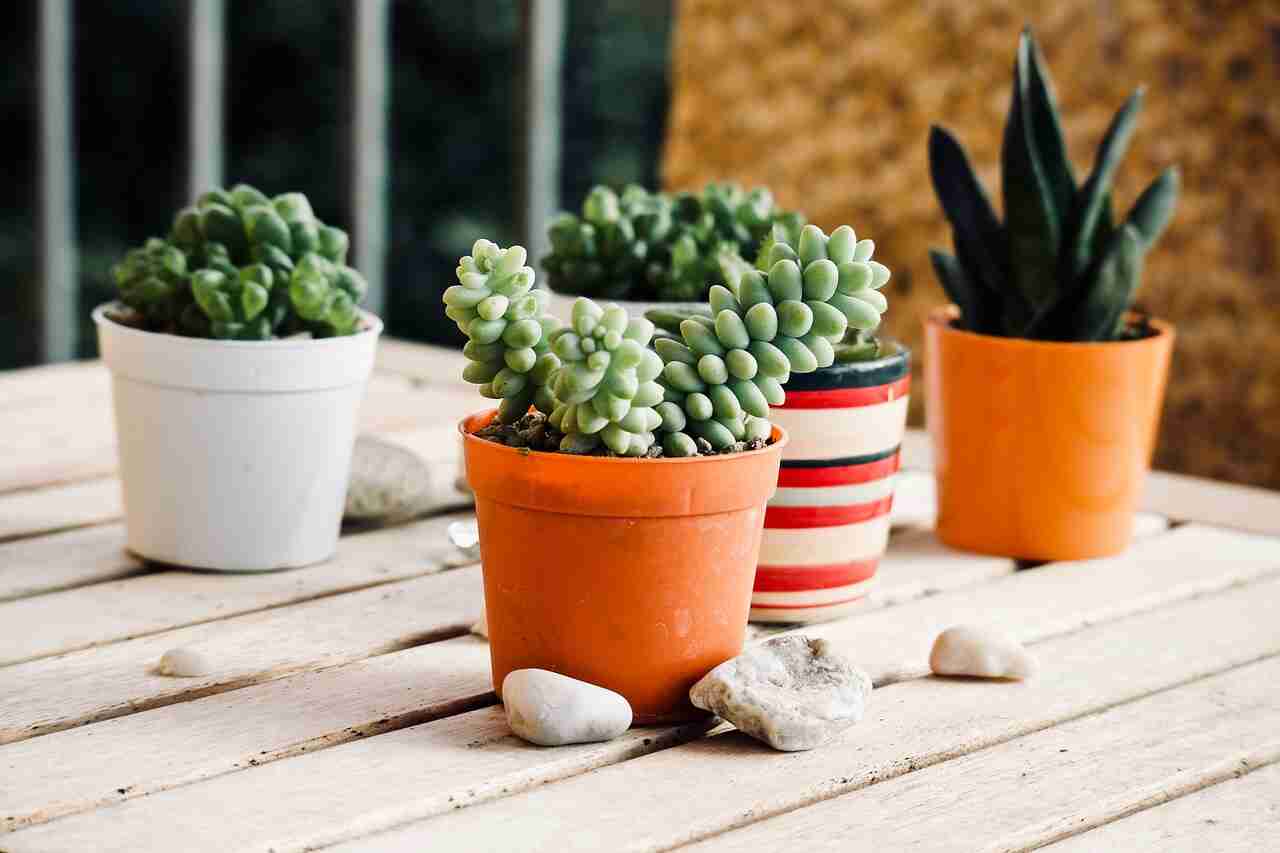
Rocks can be used to repot succulents and support a healthy growing environment. The most important use for rocks is a drainage layer along the bottom of a pot. The gaps between the rocks allow excess water to gather and evaporate or drain away rather than saturating the soil surrounding the plant’s roots. Light, porous rocks like lava rocks or pumice can be mixed with the soil used to repot succulents as a way of further replicating desert soils.
The porous rocks allow more air to move throughout the sandy soil, improving the circulation of nutrients and helping to prevent root rot from soaked roots. Rocks mixed in with soil will also help avoid large gaps from forming as water passes through the soil. Rocks can also be used as a top dressing for the container used to repot succulents.
The soil should not be flush with the edge of the container, but rather an inch or two below the rim. Small, decorative stones should be layered evenly across the top of the soil to insulate the soil and roots beneath from heat, cold, and wind. The top dressing will also assist in evenly dispersing water so throughout the soil. Finally, decorative stones can offer complementary colors, patterns, and textures to many succulent arrangements. Lithops, or rock plants, in particular, are often arranged with stones to highlight their striking appearance.
Picture via Pixabay
Repotting Succulents with Sand
Succulents’ natural environment is usually desert or other semi-arid environments, so sandy soil is the ideal type of soil in which to repot succulents and cacti.
There are a couple of options to replicate succulents’ prime soil conditions.
Many nurseries and garden centers sell “desert soil,” pre-mixed soil used to repot succulents that has a more sandy consistency than regular potting soil.
The sandier consistency allows succulents’ roots to establish a strong foothold and ensures proper drainage for all types of succulent plants.
Home gardeners can create their own “desert soil” by mixing potting soil, generic topsoil, and sand in equal parts.
Pre-mixed varieties of soil for African violets are also a good start, and peat can be mixed in along with sand to further mimic desert soils.
A layer of small pebbles or volcanic rocks along the bottom of the container will also aid in draining off water to make sure the soil in the new pot does not retain too much moisture.
Picture via Pixabay
When to Repot Succulents
There is no right or wrong time to repot succulents as long as the necessary precautions are taken and the plants receive adequate care afterward.
Succulents tend to be hardy plants that can recover from most changes. The biggest risk to succulents is overly wet soil that will lead to root rot.
Extreme temperature changes are not good for the plants either, but succulents can usually survive for quite some time in both frigid cold and sweltering heat.
When deciding when to repot succulents, aim for moderation. Cooler temperatures are associated with dormancy and are better for changes in the environment.
Humidity is rarely beneficial to repot succulents, but water control will be important once the roots begin to heal in their new pot.
If a home gardener has the patience and vigilance to support the plants, they can choose to repot succulents whenever it works best for them.
Picture via Pixabay
Repotting Succulents in Winter
One of the attractive qualities of succulents is their hardiness in cold weather. Where many garden or house plants struggle in cooler temperatures, succulents will continue to thrive even in snowy conditions.
Many succulents or cacti even benefit from being covered by snow if they are outdoors as the layer of snow insulates them from the worst of the winter weather, including excess moisture and harsh winds.
In areas without snow, some succulents should also be covered with burlap or evergreen boughs for extra protection.
Still, it is best not to repot succulents that live outdoors during the coldest days of winter.
Succulents and cacti become dormant during winter months, so they will not rebound from the trauma of being transferred to a new container as easily as they would during warmer months.
If they are already used to being shielded by snow or coverage from boughs, the sudden exposure to the elements will make them extra vulnerable during their transition to a new pot.
It can also be wise to repot succulents before winter in order to move them indoors.
Since succulents have become prolific as accent plants for gardens and landscaping, they are often used in areas that reach temperatures far colder than many succulents can tolerate.
While a layer of snow can insulate succulents during dormancy for a short period of time, prolonged exposure would be detrimental.
One option is to repot succulents int he late fall for storage indoors where temperatures and water levels can be more comfortably controlled.
When spring comes, move the succulents back outdoors where they can thrive in the heat and sunshine.
It is safer to repot succulents that live indoors or in areas that do not experience much cold during the winter months.
Late winter or early spring is the best time since those plants will be initiating their growth for the season and will quickly adapt to a new pot.
However, most succulents and cacti can be transplanted at any time as long as they are cared for correctly.
Picture via Pixabay
How to Repot Succulents with No Drainage
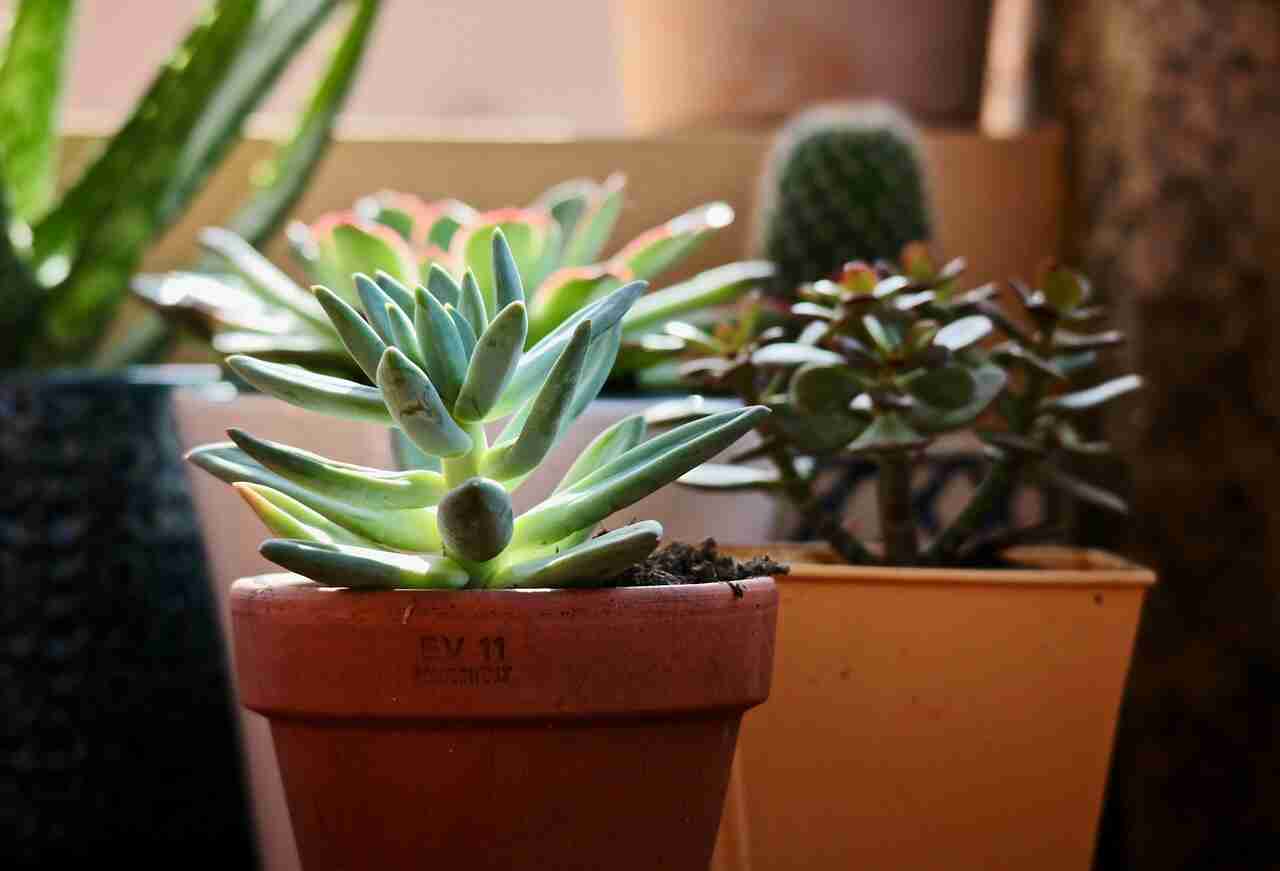
Drainage is key to successfully supporting succulents and cacti in their containers. Since succulents naturally grow in deserts and other semi-arid environments, their natural soils are usually sandy and they do not get much exposure to precipitation. If a succulent is planted in a container with no drainage, using the correct type of soil is essential or the succulent will need to be repotted in order for the plant to truly thrive.
Pots or glass bulbs with no drainage holes should have a thin layer of pebbles, river stones, or volcanic rocks on the bottom. The soil on top should be thin as well and should replicate the sandy consistency of desert soils as much as possible. The layer of rocks will allow space for excess water to settle to the bottom of the container and evaporate quickly. The sandy, soft soil permits air to circulate over the roots of the succulent so that they maintain the appropriate level of moisture.
Picture via Pixabay
How to Repot a Plant Without Killing It
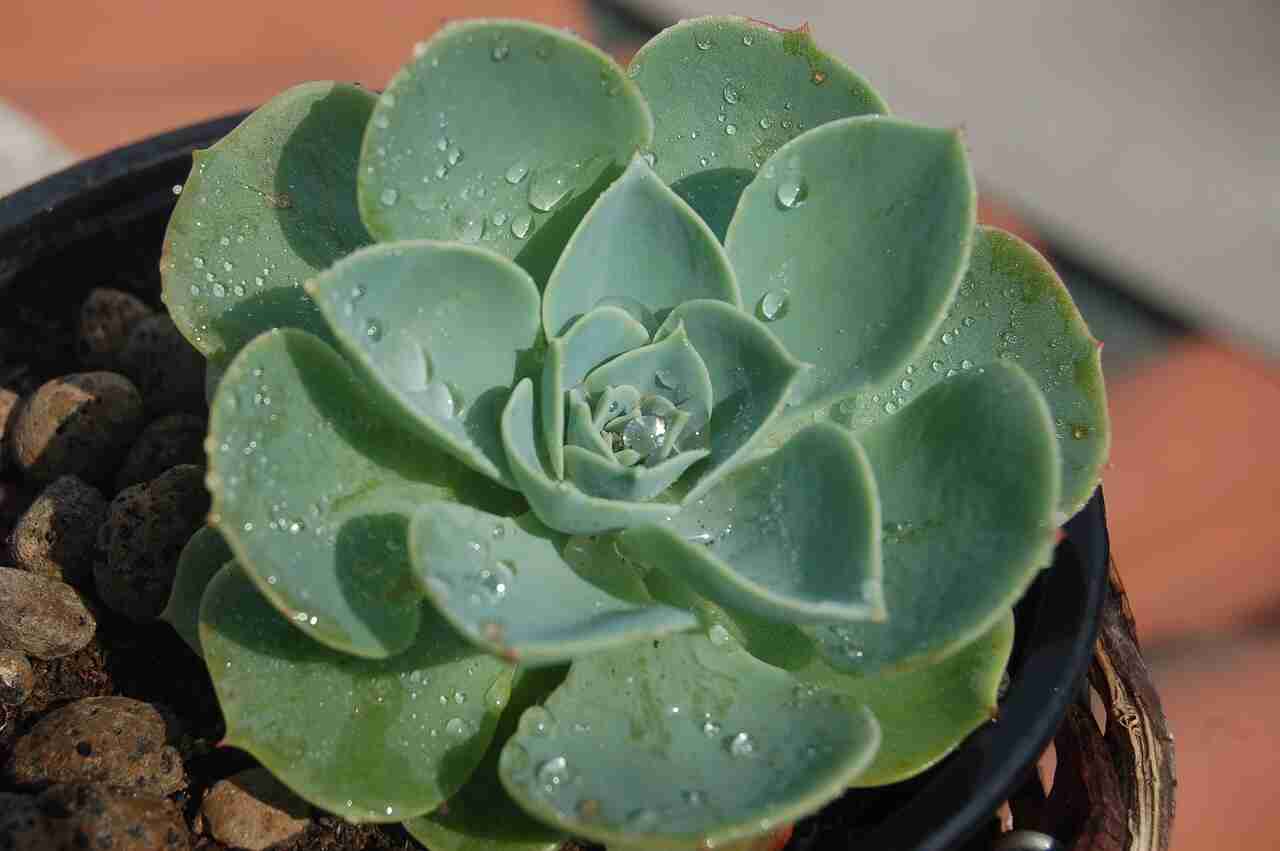
Like any plant, succulents need to be well established before any attempt to repot them in a new container. Try to avoid repotting young plants that have not had time to produce strong root systems. When a plant is ready to be repotted, start by watering the soil. Wait a few minutes for the soil to absorb the water so that the soil will cling to the roots when the plant is gently lifted out of the original container. Gently place the plant in a new container with the appropriate soil and good drainage.
The new container should be the same depth as the original, but it can be a greater diameter to allow more space for the new succulent plant to grow. The roots should still be moist from the watering in the original soil, so wait to water the new soil in the new container until the next day. The new succulent plant will be fragile, so pay careful attention to the plant’s watering needs over the next few weeks until the succulent’s root system has time to establish itself in the new pot.
Picture via Pixabay
Should You Repot During Your Plant’s Dormancy?
Dormancy is a good time to repot succulents and cacti, but be sure to transplant toward the end of the dormant season. Most succulents, like other plants, go into dormancy during the cooler winter months. Dormancy means that the plants stop growing upward with new stems, leaves, and flowers and instead focus nutrients on root development and preservation. However, dormancy is not turned on with the flip of a switch. Instead, plants gradually become dormant as the weather cools, stay in a state of dormancy for a period of time, and then gradually transition back toward their productive seasons.
When considering when to repot succulents and cacti, late winter into early spring is generally the timeframe where succulents and cacti are still in their dormancy but are on the verge of becoming productive again. This is the perfect time of year to repot succulents because it strikes a balance between root growth and development, which are essential to settling into a new pot and new soil, and productive years when the plants will start to expand.
Considerations around dormancy are especially important if the plan is to repot succulents that live outdoors. Be sure to refer to the applicable growing zone maps for information about dormancy seasons and expectations about the last frosts of the season.
How to Repot Aloe Vera
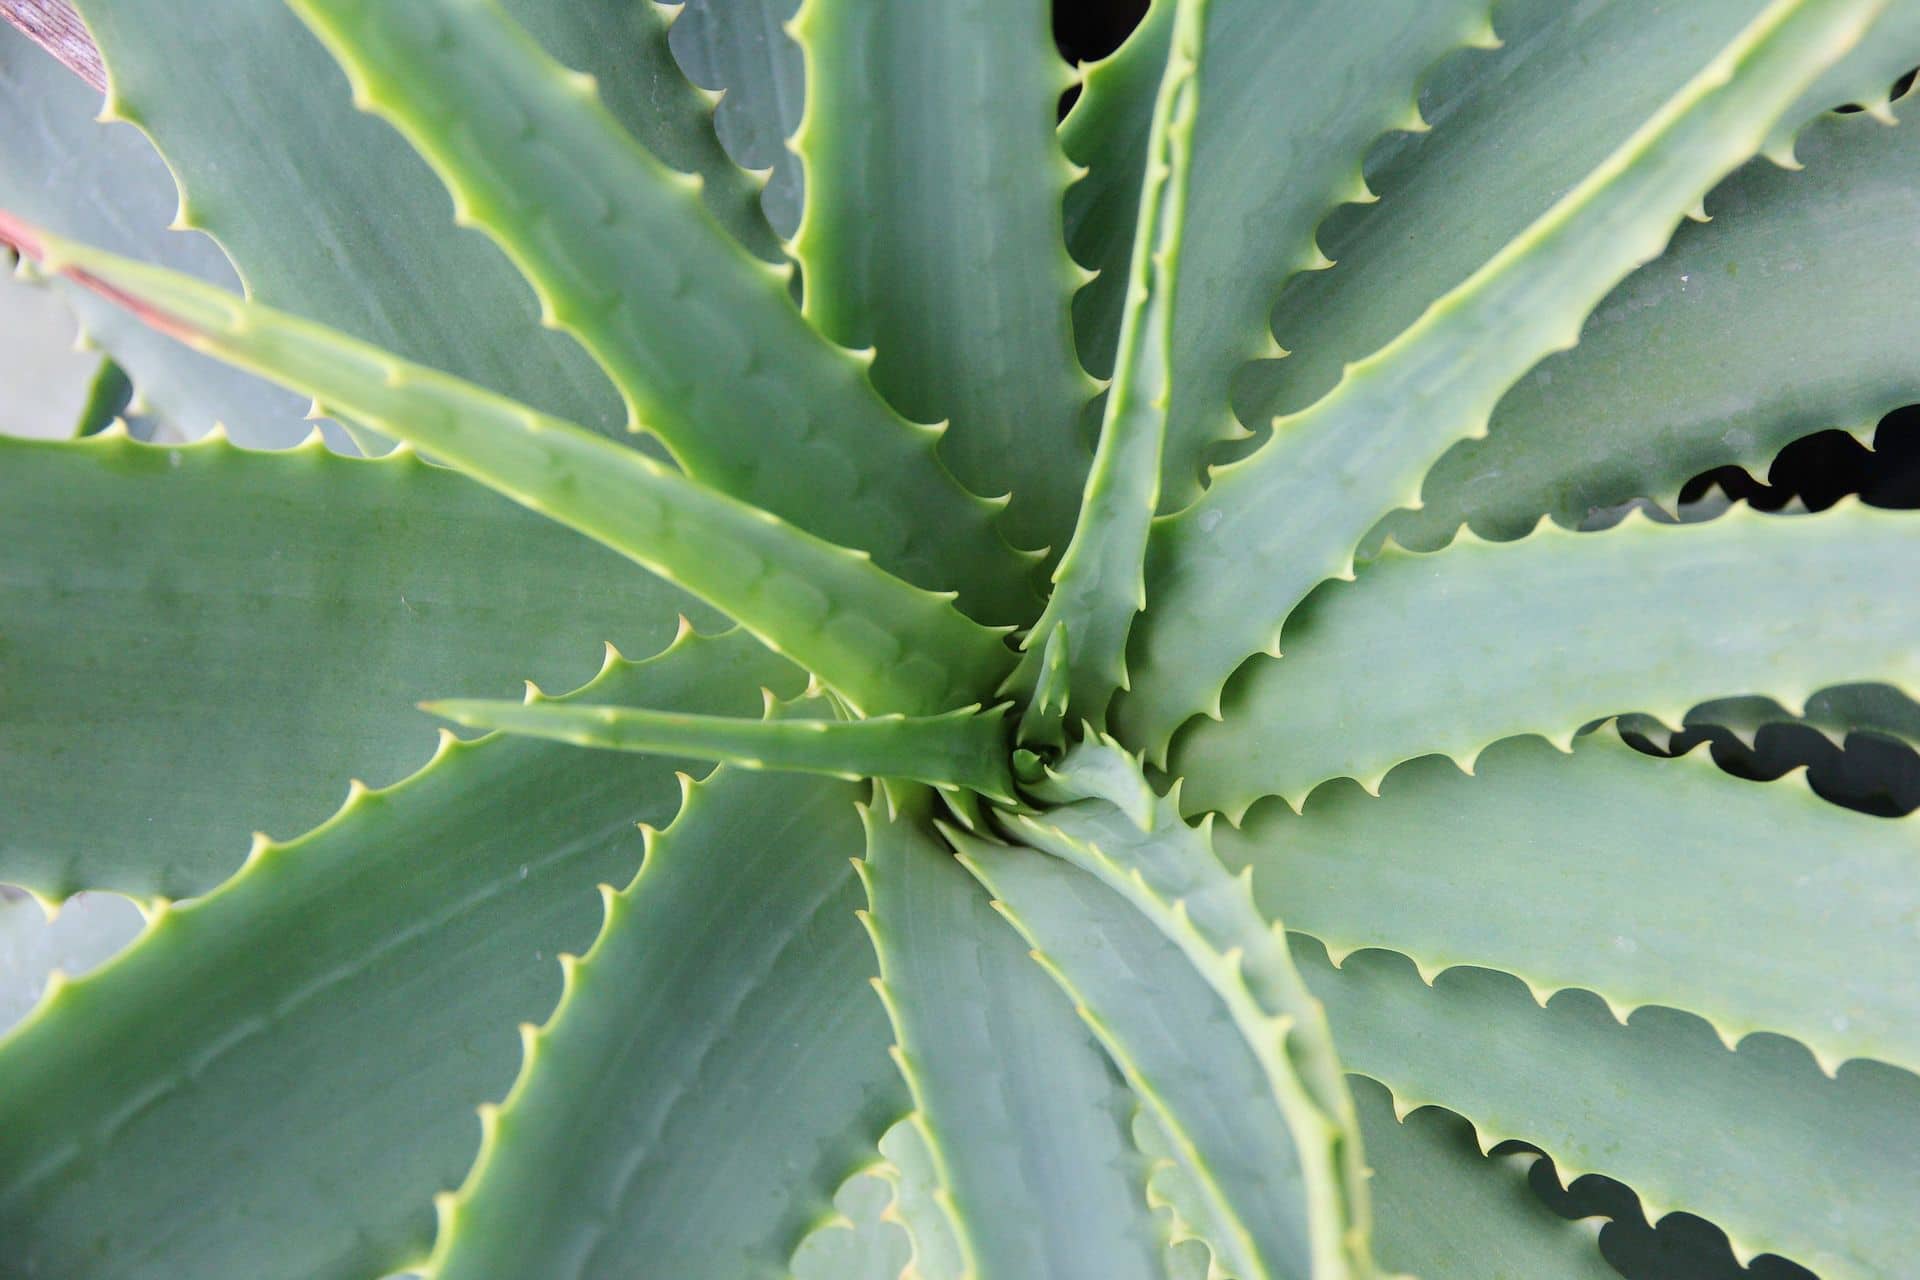
Aloe vera plants are some of the most common succulents found in indoor pots or backyard gardens. The juice or sap from aloe leaves is moisturizing, helps heal burns as well as minor cuts and scrapes, and can be consumed as a source of vitamins and minerals. Aloe vera plants have hardy root systems, so it is relatively easy to repot succulents in the aloe vera family. Some aloe vera plants need to be repotted when their leaves begin to droop or appear leggy.
Wait until the day after the plant has been watered to remove the aloe vera from its original container. This will ensure the soil is moist enough to cling to the roots but not so wet that it will simply fall off. This also gives time for the aloe vera plant to absorb some of the water before its transition into a new home. Aloe vera plants can grow quite large, even in small pots, so their root systems will sometimes become root-bound and require some attention.
If the roots are bound together when the aloe vera plant is lifted out of its original pot, use a sharp knife or scissors to remove some of the thicker parts of the root network. Aloe vera plants can handle this disruption to their root system, so do not be afraid to really trim the roots back.
Like with the process to repot succulents of all varieties, the soil in the new pot for the aloe vera plant should be sandy and the new pot should have good drainage. The new container should be the same depth as the original, but it can be a greater diameter to allow more space for the new aloe vera plant to grow. Multiple small aloe vera plants are able to share the same pot, as well.
The roots should still be moist from the watering in the original soil, so wait to water the new soil in the new container until the next day. The new aloe vera plant will be fragile, so pay careful attention to the plant’s watering needs over the next few weeks until the aloe vera’s root system has time to establish itself in the new pot.
Picture via Pixabay
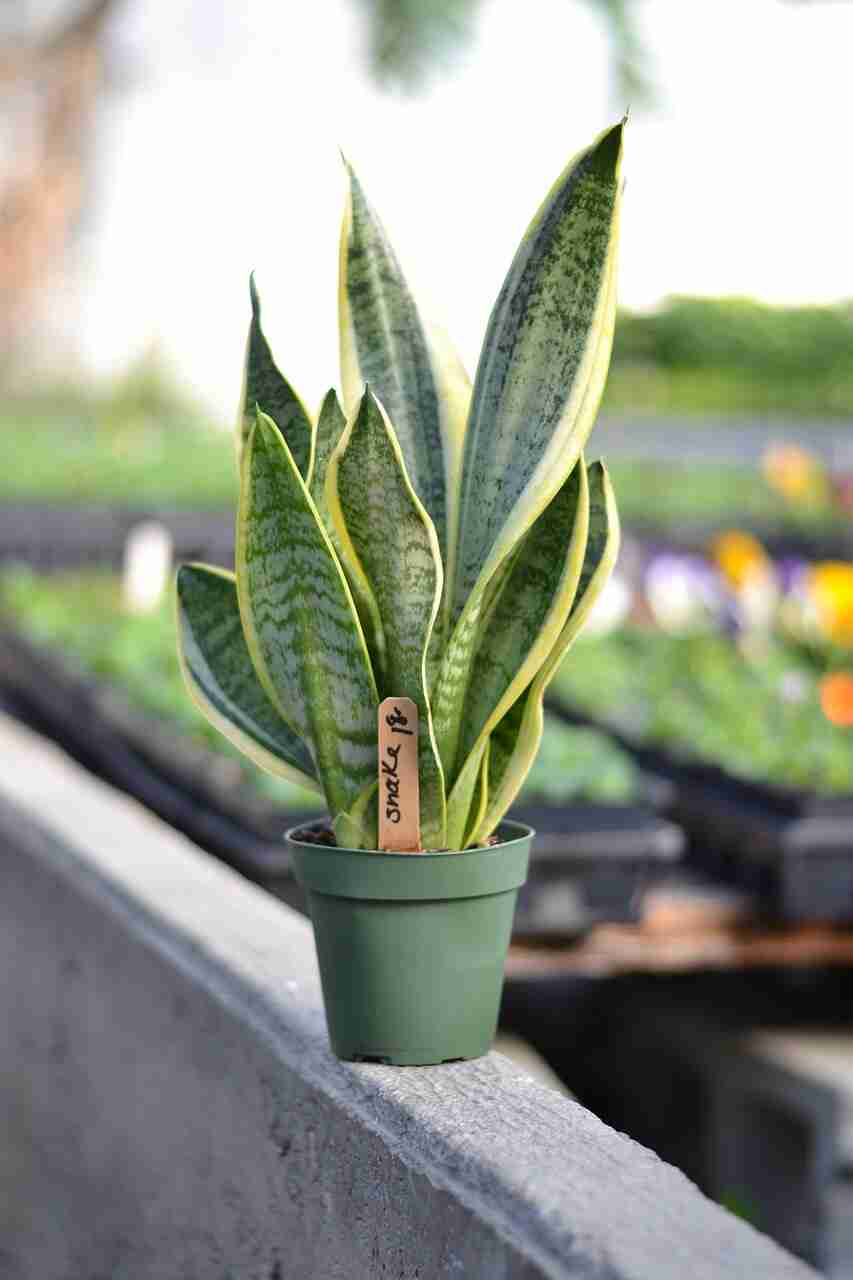
How to Repot a Snake Plant
Snake plants, sometimes called mother-in-law’s tongue, are tropical succulents with tall, pointed leaves emanating from a central rosette at the base. The steps to repot succulents like the snake plant are a bit different than other succulents or cacti. Snake plants develop dense root balls to help support their height, so the first sign that a snake plant needs to be moved to a new pot is that the roots will start to grow through the drainage holes or even bulge the edges of a plastic pot. Snake plants should always be able to be easily lifted out of their pot, so if it is a struggle to get the root ball out of the pot, a larger container is needed.
Once the snake plant is removed from the old pot, inspect the root ball. Dark or black spots should be cut away with a sharp knife or razor blade as those are signs of root rot. Root rot occurs when the snake plant’s roots are not getting proper drainage and they start to decompose in the moisture. Cutting away they rotted roots will allow the rest of the healthy root ball to expand. Like aloe vera plants and many other large succulents, a snake plant’s roots can also become root-bound. Long, thick roots will grow around the perimeter of the root ball and block new growth of healthy roots. Again, simply cut away that larger outside roots to make room for new root branches.
This is also a good time to decide if the snake plant should be divided. At the base of the snake plant, sometimes an inch or two under the soil, distinct stems should be visible. They can be gently pulled apart along with some of the roots and individual stems of the snake plant can be planted separately to propagate new snake plants.
When choosing a new container for a snake plant, keep in mind that snake plants are tall and, therefore, top- heavy. The new container should be wider than it is deep to prevent the snake plant from tipping over as it grows. When selecting rocks for the drainage layer at the bottom of the new container, it may be appropriate to select heavier stones that will help keep the container safely balanced, especially if the snake plant will be living outdoors exposed to winds. From there, follow the same basic steps outlined to repot succulents of any variety. Prepare the soil in the new pot. Use a shallow container with well-drained, sandy soil.
Use a bamboo stick or garden stake to support the snake plants until its roots will hold it in place. Popsicle sticks are likely useless in these circumstances due to the height of most snake plants. The pot should be left in a warm, dry place away from direct sunlight. After several weeks, the snake plant will start to form strong root systems in the new pot. Begin to water the snake plant, allowing the soil to completely dry out between each watering.
Once the roots on the snake plant have firmly established themselves, the pot should be moved to its usual spot in a well lit, warm place. Most established snake plants will only need to be watered about once a week. Many snake plants are tropical succulents, though, so they may need more water than, say, a cactus.
Picture via Pixabay
Extra Guidance on How to Repot Succulents
Fortunately, there are plenty of sources of reputable information on how to repot succulents, care for succulents, and suggestions for decorative arrangements. The Internet can be a great source of inspiration when considering different styles of containers or patterns for arrangements. Online stores can also ship specific varieties of succulents, precisely mixed soils, or styles of containers that may be difficult to find in your local home improvement store.
Nurseries that sell succulents and cacti are great local resources with knowledgeable professionals who can guide amateur and professional gardeners alike in the care of specific varieties of succulents. Guides at botanical gardens and natural museums can pass along suggestions based on their own cultivation techniques. Even in rural areas, many public universities offer agricultural extension services that do everything from testing soil for prime conditions to publishing reports of local and regional trends in gardening and farming.
The professional scientists and researchers who work for these institutions are often happy to help and are interested in learning what their constituents are growing. The Cactus and Succulent Society of America has been a professional organization since 1929 dedicated to studying and celebrating all things related to succulents.
They offer advice, education, research, and even how-to guides for observing succulents and cacti in nature as well as planting them in home gardens. If succulents and cacti are more than just a passing hobby, the CSSA also organizes excursions where participants can find and observe succulents and cacti in their natural habitats.
Picture via Pixabay

